How to Paint Outdoor Trim
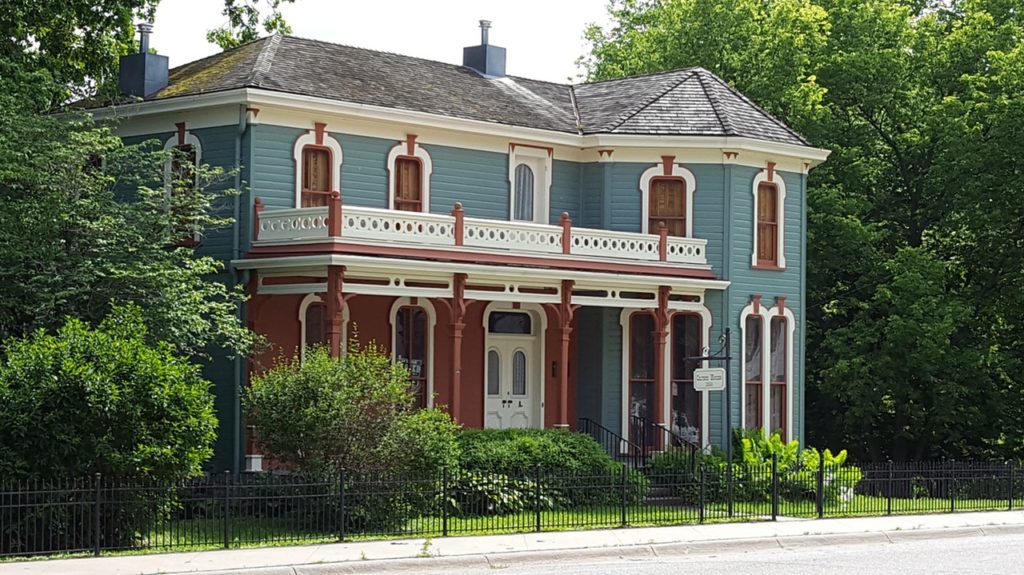
Selecting the right colors for your house, including the accents and trim, can be one of the more challenging aspects when it comes to home improvement. However, this home improvement project can lead to one of the most significant impacts to the look of your home. To ensure that your hard work comes out looking pristine, there are a few tips that can make painting your outdoor trim virtually goof proof!
Step 1: Plan
So, you have selected the trim color for the outside of your home. That’s excellent! However, it is not as easy as applying paint to the surface of your home’s exterior. If you don’t take a few minutes to plan out where and what you will be painting, it can lead to an undesired visual effect. As the professionals over at the DIY Network suggest, after you decide what trim you will be painting, make sure to clean off the surfaces that you will be painting, as this ensures that your finished product comes out looking great. This step should also include masking off areas that you don’t want to paint, as well as protect nearby shrubbery from potential paint splatters, which happens to even the best of us.
Step 2: Prep Correctly
Masking off and protecting nearby plants is just the beginning when it comes to painting outdoor trim. Preparations for such a project also include scraping off old, peeling paint, as the new paint will have a hard time adhering to cracking paint. After removing the old paint that may be chipping or peeling, it is recommended that you sand and prime the surface to ensure the new paint will make your house trim look flawless. The use of a water repellent on the newly exposed wood can help to reduce the cracking that can occur when the wood expands and contracts when exposed to various weather conditions. Skipping the steps in the priming and preparation stages can lead to costly repairs, which makes prepping just as important as the actual painting when it comes to painting your outdoor trim.
Step 3: Painting the Fascia
The pop of color that can be achieved through painting the fascia a contrasting or complimenting hue can bring about a new look to your home. However, it is recommended by the professionals over at Behr to use a nylon/polyester brush to cut in along the area where the roof line or wall meets the fascia, followed by a roller brush to paint the remaining area of the fascia. Don’t forget to paint the bottom edge of the fascia, which can be accomplished with a paint roller.
Step 4: Refreshing Your Door
After the fascia has been painted, you may want to also paint the trim around your front door, including the door jam. This step also requires prepping via sanding and priming, if necessary. To paint your door trim, you will want to place your brush at the top of the frame, starting on the inside surface, then continuing until you finish the entire door frame. During this step, you will also want to watch for any paint that may have overlapped onto the front surface of the door trim.
Conclusion
By following the steps laid out in this article, you will be able to improve the look, as well as the value of your home. The trim of your house is often what makes it “pop,” and with the proper techniques, you can also extend the life of your trim, with minimal investment required. However, if tackling this type of project seems daunting, consulting the right painting professional can help you to achieve the desired results. If you live near Breckenridge or Vail, let us know if we can be that professional for you.
References
Behr. (n.d.). How to paint exterior trim, fascia and doors. Retrieved from http://www.behr.com/consumer/how-to/exterior/how-to-paint-trim-fascia-and-door
DIY Network. (n.d.). Exterior painting preparation. Retrieved from http://www.diynetwork.com/how-to/skills-and-know-how/painting/exterior-painting-preparation
The Family Handyman. (n.d.). Exterior painting tips and techniques. Retrieved from http://www.familyhandlyman.com/painting/techniques/exterior-painting-tips-and-techniques/view-all/
SF Gate. (n.d.). Trim techniques for exterior painting. Retrieved from http://www.homeguides.sfgate.com/trim-technique-exterior-painting-28661.html